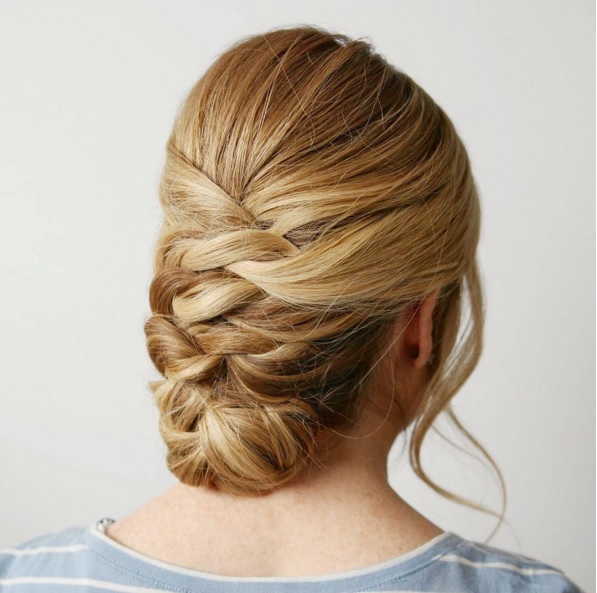
Photo: missysueblog on Instagram
While braids are certainly en vogue for Spring 2016, there’s nothing quite like a classic low updo to capture your inner lady and immediately bring a feminine finish to your overall beauty statement. If you’re ready to swap your signature fishtail braid for an effortless upswept style, here’s how to master a knotted updo in a few steps.
1) Start off by brushing out your locks and gently backcombing your tresses: Before you can officially craft your hairstyle, ensure that your locks are tangle-free and sleek. After you’ve brushed out your strands, use a wide-toothed comb to backcomb the back portion of your locks. Next, spritz the backcombed portion of your locks with hairspray to maintain the volume and texture.
2) Pull a section of your hair back into a twisted half-up hairstyle and pin into place: Gently pull a segment of your locks back from either side of your face, and carefully twist this section into a pinned-back half-up and half-down hairstyle.
3) Continue to pin the surrounding strands of hair back into a woven style: Once you’ve secured the pulled-back section of hair, take a thin surrounding section and also pin it into place with bobby pins. Repeat this process with the rest of your free-falling hair, and create a ladder-like effect by weaving the strands together in a looped fashion.
4) Braid the end of your hairstyle to complete the look: As you reach the end of your locks, start braiding your loose tresses to craft a thick, woven plait.
5) Roll your braid back into a low bun: Finish off your eternally chic hairstyle by wrapping up your woven plait into an elegant low bun at the nape of your neck. Use extra bobby pins to hold your simple new updo in place, and leave a few face-framing wisps of hair falling free for a romantic effect.